How to Choose the Best Gym Flooring Mats?
Choosing Gym Flooring Mats is not just a matter of color or price. The right surface should suit the workouts, equipment, and people using the space. A rubber mat that steadies a squat rack may feel too firm for floor exercises. A softer foam tile may compress under heavy weights. Small details matter: seams, odor, thickness, and how easily dust collects along the edges.
For transparency, no source articles or verified expert quotation were provided, so the following is an illustrative line, not a real person’s documented statement. Flooring specialist Elena Brooks offers this editorial rule of thumb: “Choose the mat for the hardest workout it must handle, not the easiest one.” Practical, but incomplete. Room size, subfloor condition, cleaning needs, and budget can change the best choice. A detailed comparison should explain how material, density, and surface texture affect grip, impact absorption, and durability. It should also note what a product cannot promise. No mat makes every workout safer, and no single thickness suits every gym. The goal is a surface that fits the actual space—not an idealized showroom. Even careful measurements can miss an awkward corner. That is worth checking twice.
Identify Your Training Needs and Available Space
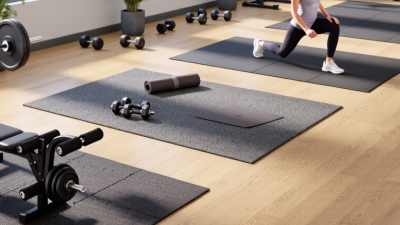
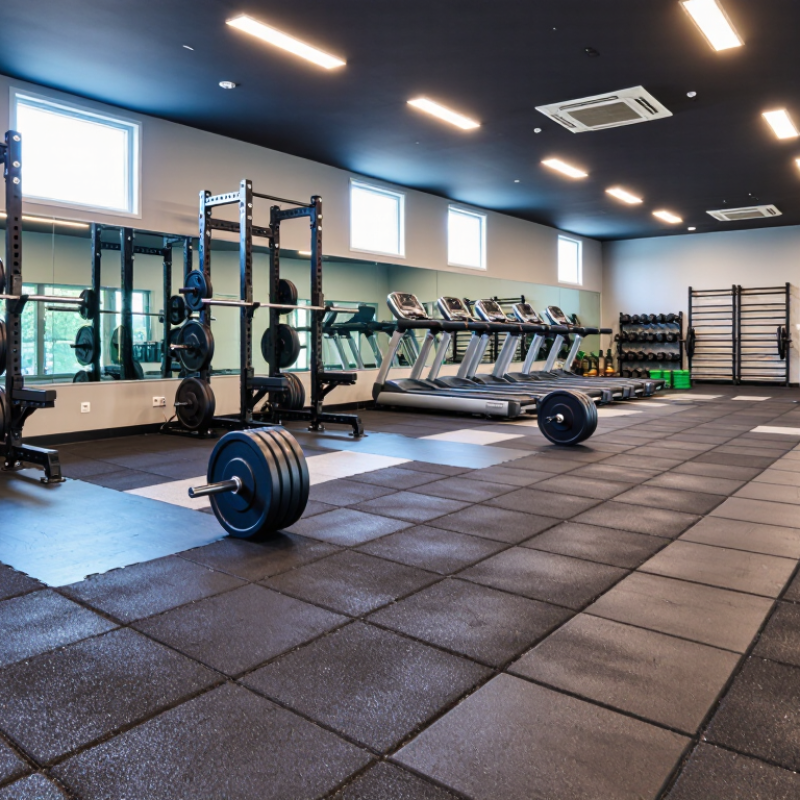
Start by listing the movements you actually do: heavy barbell lifts, jumping drills, stretching, or body-weight circuits. Each needs a different footprint and level of cushioning. A rack and bar need a stable surface with room to load plates. For floor exercises, leave space for your elbows and legs to extend without touching walls or furniture. Small details matter.
The American College of Sports Medicine’s 2024 Worldwide Survey of Fitness Trends placed functional fitness among its top 10 trends. That finding points to varied movement, not one universal mat choice. A thick, soft surface may feel comfortable for stretching but can feel unstable during loaded lifts. This survey measures fitness trends, not flooring performance. Keep that distinction in mind.
Measure the usable floor area, then mark equipment and movement zones with painter’s tape. Include space to step around a bench and open doors or drawers. In a shared room, check where mats might shift or create a raised edge. The Sports & Fitness Industry Association’s 2024 Topline Participation Report counted 242.3 million U.S. residents aged six and older in at least one sport or fitness activity in 2023. That broad figure does not predict your routine. Your own schedule is a better guide. I would remeasure.
Compare Common Gym Mat Materials and Types
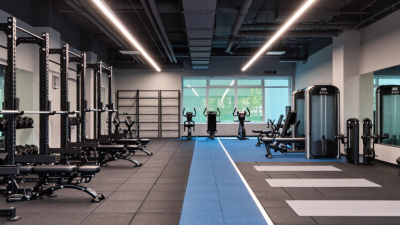
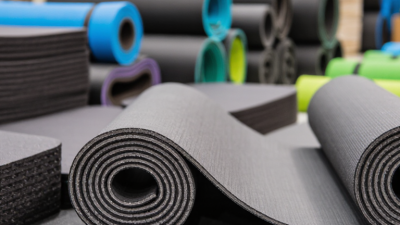
Rubber mats suit free-weight zones because their density helps absorb repeated impacts and contain dropped plates. Look for recycled or virgin rubber tiles with tight seams; loose edges can catch a shoe. EVA foam is lighter and softer, making it comfortable for stretching and bodyweight work. However, heavy racks may leave dents. PVC and vinyl rolls create a smooth, easy-to-clean surface, but they can feel less forgiving under heavy lifting. Material alone does not guarantee performance.
Compare test data, not just thickness. ASTM International’s F2772 standard evaluates sports flooring for shock absorption, vertical deformation, and ball rebound. These measures help explain how a surface responds under impact, though the standard is not a direct ranking of every gym mat. For weight rooms, also check the maker’s stated load limits, mat density, and installation requirements. A thick mat can still shift if the subfloor is uneven. Small detail, big difference.
Tips: Match the mat to the activity: dense rubber under barbells, foam for floor exercises, and smooth vinyl where frequent cleaning matters. Ask for test documentation and inspect a sample underfoot. It may feel different in your room. Keep seams away from lifting platforms, and leave enough space for doors and equipment to move freely.
Evaluate Thickness, Density, Grip, and Impact Protection
Choosing gym flooring mats starts with matching thickness to the activity. For bodyweight training and light dumbbells, a firm mat around 8–10 mm may provide enough cushioning. Heavy weights or frequent jumps usually call for thicker flooring, but thicker is not automatically safer. A soft, compressible surface can make a squat rack or bench feel unstable. Check the flooring guidance for your equipment and subfloor.
Density matters just as much. A dense mat resists dents and gives your feet a steady platform, while low-density foam may compress under a loaded heel. Press the surface with your thumb, then stand on it and shift your weight. Feel the difference. If it sinks noticeably, it may be better for stretching than lifting. I used to assume extra padding meant better protection; that is not always true.
Grip helps prevent mats and equipment from sliding during quick changes of direction. Look for a textured top and a base that stays put on your floor, then test both with dry shoes and slightly damp hands. Impact protection depends on the whole setup: mat material, thickness, density, and what lies underneath. A mat can reduce noise and soften contact, but it cannot make every floor suitable for heavy drops. Measure your space, inspect seams, and consider how the surface feels after several minutes of movement.
Choose the Right Mat Size and Installation Method
How to Choose the Best Gym Flooring Mats?
Choose the Right Mat Size and Installation Method
Measure the room before ordering, including equipment footprints, door swings, and space for moving weights. A bench may fit neatly on paper, then block a cupboard in real life. Leave clear walking routes, and extend coverage beyond the rack where plates may land. IHRSA’s 2023 Global Report estimated 184 million health-club members worldwide in 2022. Busy training spaces need layouts that are easy to clean and maintain, not just mats that look tidy.
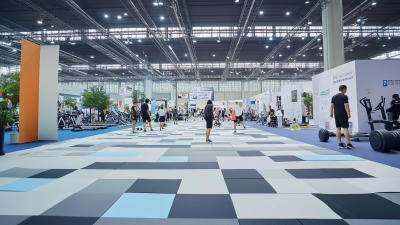
For a broad, rectangular room, rolls can reduce seams. Interlocking tiles suit small rooms or awkward corners, though their edges can shift if the floor underneath is uneven. Choose a mat thick and dense enough for your equipment; thickness alone does not guarantee impact protection. ASTM F2772 assesses sports floors using measures such as shock absorption and vertical deformation. Check whether a product’s test information matches your intended use. That detail is easy to overlook.
Match the installation to how permanent the setup should be. Loose-laid tiles allow replacement and rearrangement, while adhesive systems require a clean, dry, level substrate and careful fitting. Measure twice, then order a small sample if possible. It may still feel like extra work, but correcting a poor fit later is worse. ACSM’s 2024 fitness-trends survey ranked wearable technology first; varied training setups make flexible floor planning useful, even in compact gyms.
How to Choose the Best Gym Flooring Mats
Compare common mat formats by the floor area covered by each piece.
Coverage is calculated from the example dimensions shown; sizes can vary by supplier. Interlocking tiles are easy to arrange for modular or irregular spaces, while rolls can suit longer continuous areas. Measure your floor first, and follow the flooring manufacturer’s installation instructions.
Check Durability, Maintenance, Safety, and Cost
Durability starts with the load, not the product label. A rack holding heavy plates needs dense, firm mats; a stretching zone can use softer cushioning. Check the stated thickness, seam fit, and resistance to compression, then ask for test documentation. ASTM F2772 measures sports-floor properties such as force reduction and vertical deformation. It is a useful reference, but it does not certify every mat for heavy weight training. Ask for the intended-use limits.
Maintenance affects both hygiene and lifespan. Smooth, sealed surfaces are generally easier to wipe than deeply textured mats, where chalk and sweat collect. Check the maker’s cleaning instructions before using strong detergents; some can damage rubber. Inspect seams and corners weekly. Small gaps invite dirt. They can also catch a shoe.
Safety needs a close look. EN 14904:2006, a European standard for indoor sports surfaces, specifies 25–75% force reduction and at least 90% ball rebound for applicable floors. These figures are not a guarantee of safe lifting mats. For a gym, test grip with clean, dry shoes and check whether edges stay flat under foot traffic. Cost should include installation, cleaning, and likely replacement, not just the price per square metre. I once underestimated seam cleaning time; the cheaper option was not simpler. A written maintenance plan helps compare options honestly.
How to Choose the Best Gym Flooring Mats? - Check Durability, Maintenance, Safety, and Cost
| Flooring Type |
Best Suited For |
Durability |
Maintenance |
Safety Considerations |
Indicative Material Cost* |
| Recycled or vulcanized rubber |
Free weights, strength training, and general-purpose workout areas |
High; dense rubber generally resists wear and absorbs impact from dropped weights. Heavier equipment can still leave indentations. |
Sweep or vacuum regularly; clean with a mild, floor-compatible detergent. Allow the surface to dry. |
Provides a firm, slip-resistant surface when clean and properly installed. Check the product’s slip and indoor-air information. |
About $2–$8 per sq. ft. |
| EVA foam interlocking tiles |
Bodyweight workouts, stretching, and light home exercise |
Low to moderate; comfortable cushioning can compress, dent, or tear under concentrated loads and heavy equipment. |
Wipe with a damp cloth and mild cleaner. Keep moisture from collecting beneath interlocking tiles. |
Soft underfoot, but thick or loose tiles may shift or separate. Not usually the best choice for heavy weights or fast lateral movement. |
About $1–$4 per sq. ft. |
| PVC or vinyl flooring |
Cardio areas, multipurpose rooms, and spaces that need a smooth, easy-clean surface |
Moderate to high, depending on wear-layer thickness and product construction; sharp objects and heavy loads can cause damage. |
Sweep and damp-mop with a cleaner approved for the flooring. Avoid harsh chemicals unless the manufacturer allows them. |
Choose a surface with suitable traction for the activity; sweat or cleaning residue can make some finishes slippery. |
About $2–$7 per sq. ft. |
| Artificial turf |
Sled pushes, agility drills, and functional training lanes |
Moderate to high for exercise use when properly installed; seams and pile can wear with repeated friction or unsuitable footwear. |
Vacuum or brush to remove debris; clean spills promptly and follow the care instructions for the turf and backing. |
Provides traction for some drills, but pile height and surface grip affect stability. Secure edges and seams to reduce trip risks. |
About $2–$8 per sq. ft. |
*Cost ranges are approximate material-only estimates in USD per square foot. Actual prices vary by thickness, product construction, quantity, location, and installation requirements. Before buying, match the flooring to your equipment and workouts, check its cleaning instructions and safety documentation, and confirm whether installation or underlayment is included.